Step 35
Because the cut job was not perfect, there is a gray line around the figures.
Step 35
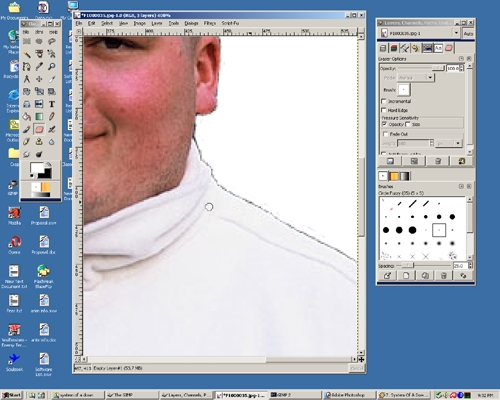
Make sure to select the top layer and then the Eraser tool in the toolbox. The eraser icon is the middle icon in the 8th row directly to the right of the paint brush.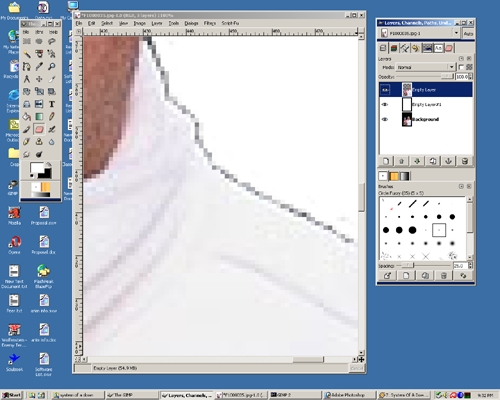
Step 35
Use the eraser tool to get rid of the white line. Because his clothing is white it is difficult to see what is being erased and what is not being erased.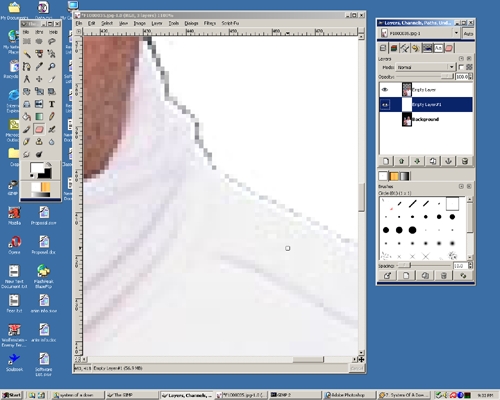
Step 35
Select the middle layer. Now click twice with the left mouse button on the foreground color in the toolbox. Drag the mouse cursor in the value box and also the rainbow colored strip to select a specific color. Then press OK. I chose bright green because it would give the greatest contrast between the figures and the background.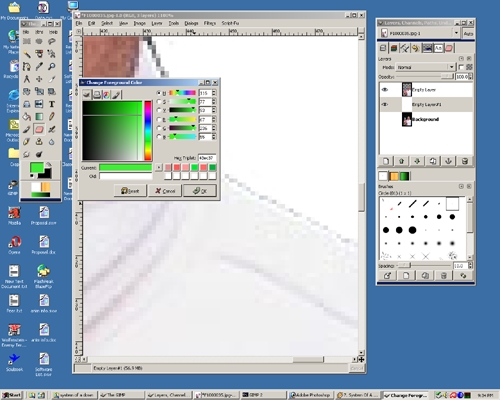
Step 35
Select the paint bucket tool. Now paint the middle layer green.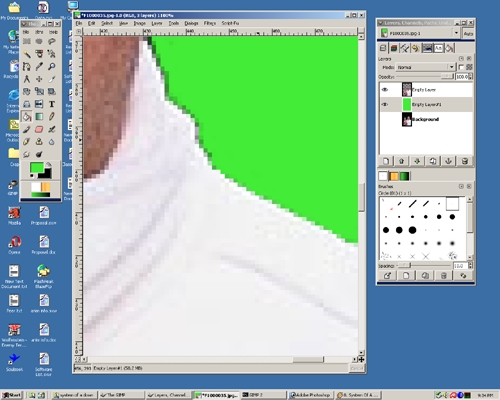
Step 35
After much cleaning, now the man and child have nice clean edges.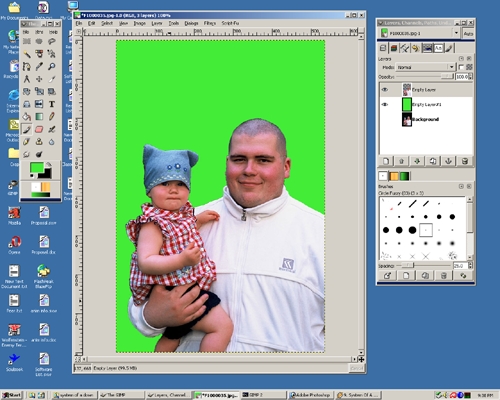
Step 35
Paint the middle layer from green to white with the paint bucket tool.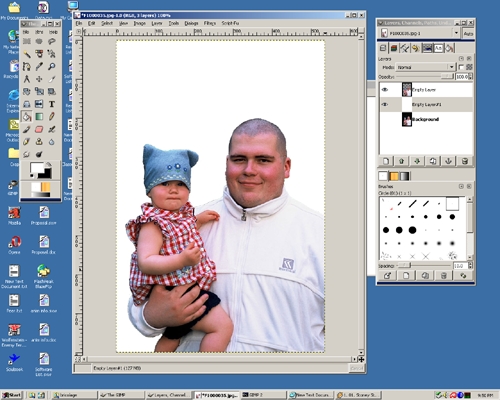
Step 35
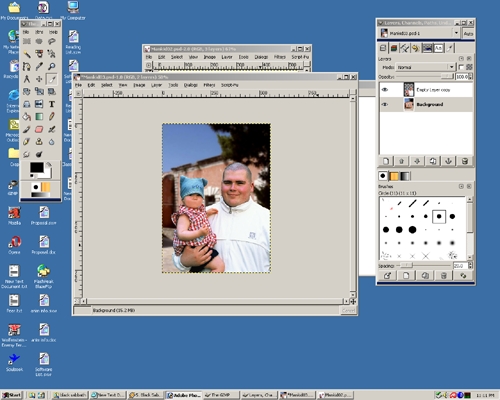
Hiding layers can be very useful. Select the eyeball icon to the left of the layers in the layer dialog box. This is called hiding the layer. Hide the background and middle layers.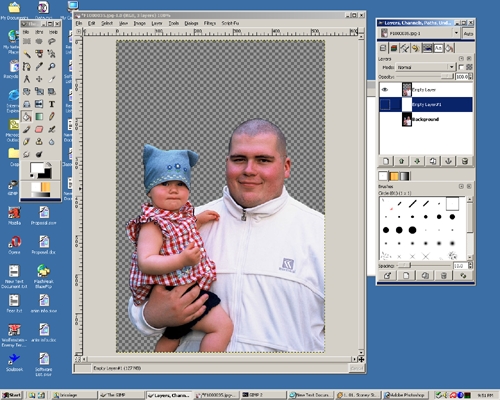
Step 35
Now show the middle layer and hide the top layer.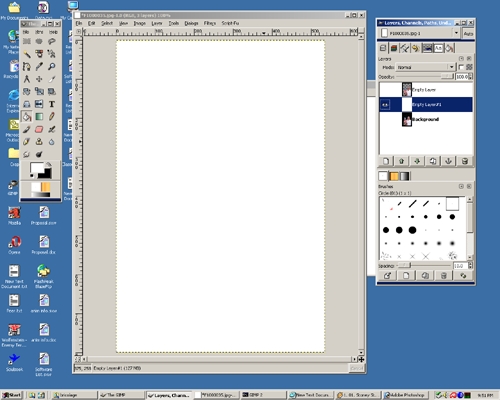
Step 35
Show the top layer and select the middle layer. Now is a good time to save.
Step 35
Right click on the picture, select file, then Save As.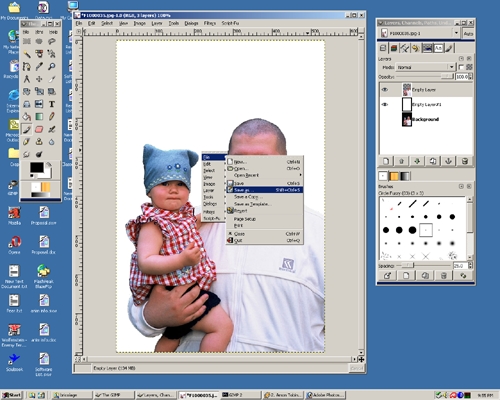
Step 35
An open dialog box will appear. Select the arrow next to Determine File Type. This is located above the OK button. Scroll down to the filetype XCF. Select this type. A XCF is a file format that allows layers.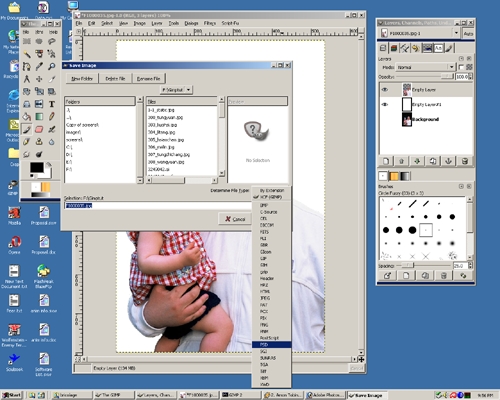
Step 35
Now the file F1000035.jpg will be changed to F1000035.xcf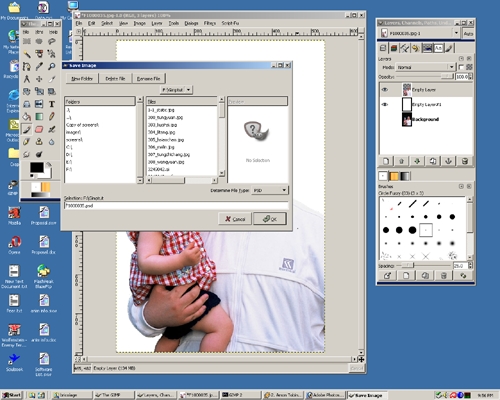
Step 35
Change the name from F1000035.xcf to Mankid01.xcf. Select OK.
Step 35
Click the gradient tool in the toolbox. It is the icon in the 7th row middle. The icon looks like a value scale and is directly to the right of the paint bucket. Drag the tool from one point to another within the picture.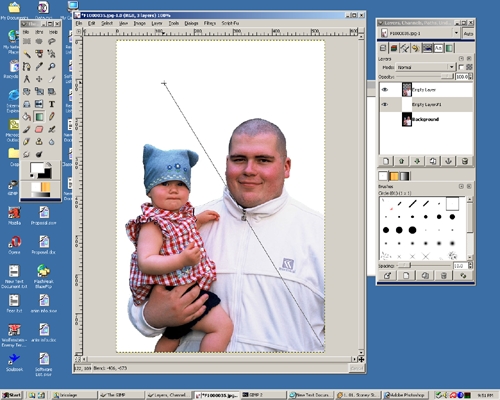
Step 35
Now the middle layer will have a gradient.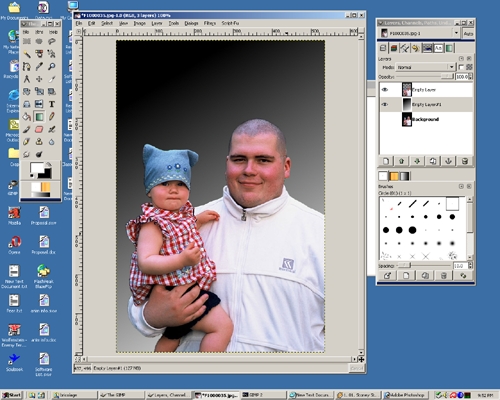
Step 35
Undo the gradient and zoom in to the man's face. Select the eye dropper tool from the toolbox. It is in the 3rd row down in the middle.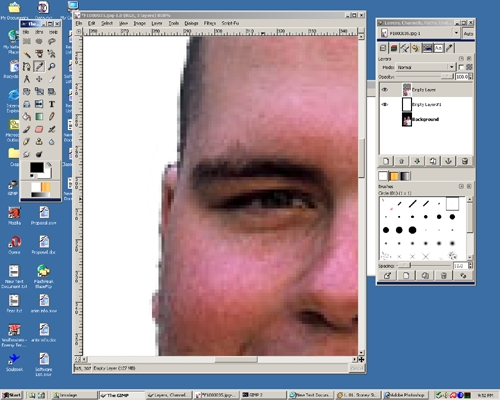
Step 35
Any color you select with the eye dropper tool will add that specific color to the foreground color. Select a color inside the eye.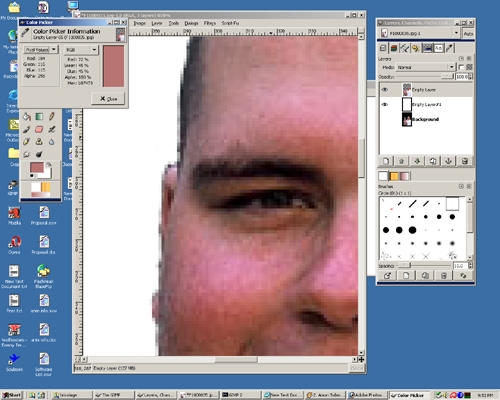
Step 35
With the brush tool paint the entire eye black for both eyes.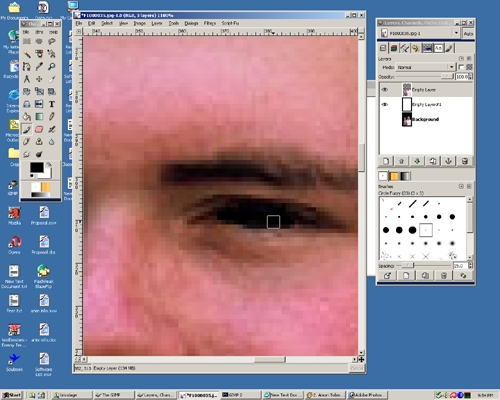
Step 35
Zoom out to see how it looks.
Step 35
Another way to zoom in is to use the magnifying glass in the toolbox. It is the icon in the 3rd row on the far righthand side. Select and area by holding down the left mouse button and dragging the area.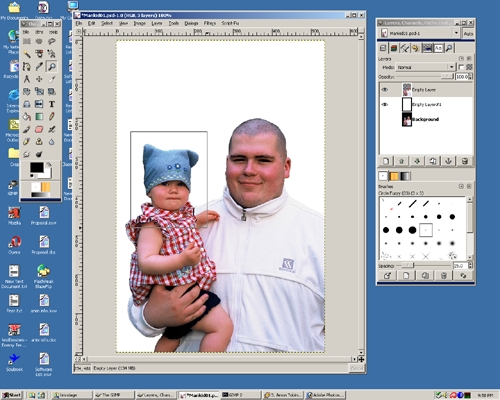
Step 35
Now the picture will be zoomed in around the child's face.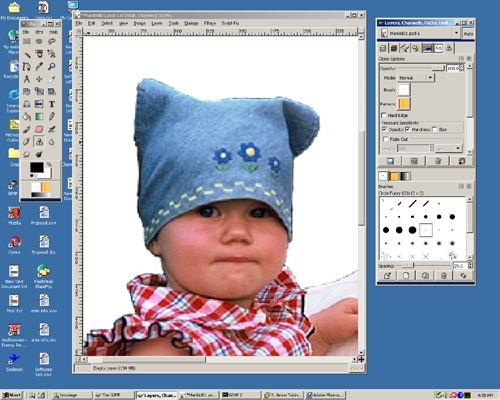
Step 35
To select the clone stamp tool in the toolbox go to the 9th row middle and select the icon. Pic an area on the face then hold the Ctrl button and click the left mouse button on the area.
Step 35
Begin drawing and it will replace that area with another part that you had targeted.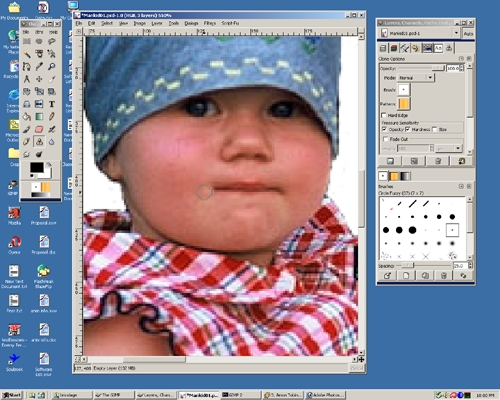
Step 35
start covering the lip area. Make sure to target different parts of the face so the blending will look more realistic.
Step 35
So far the lips are covered up but it still looks bad. We will need to change the opacity of the clone stamp tool.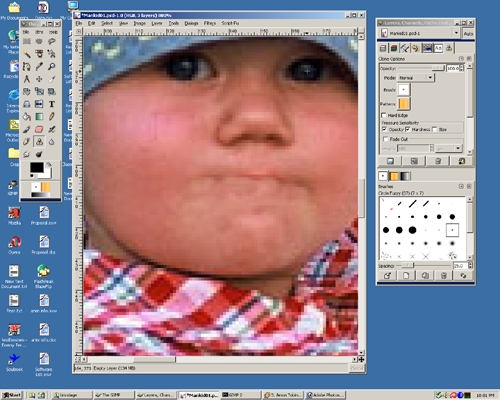
Step 35
Select the options tab in the right dialog box. If it does not appear, click on the clone stamp icon twice. Notice the opacity is 100 percent. Target the eye and draw over the mouth. Now there is a copy of the eye at 100% opacity. Undo the eye drawing.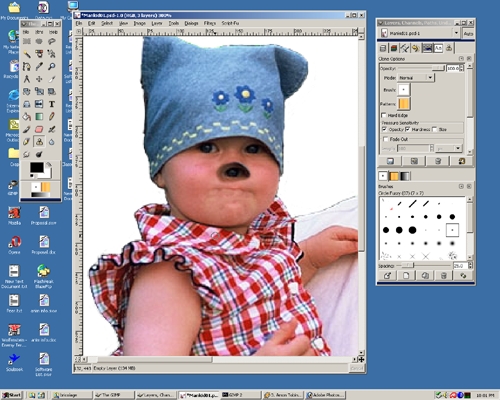
Step 35
Change the opacity to 60 percent and draw again. Notice you can see through the eye. Only 60% of the image is showing, making it transparent. Undo the eye drawing.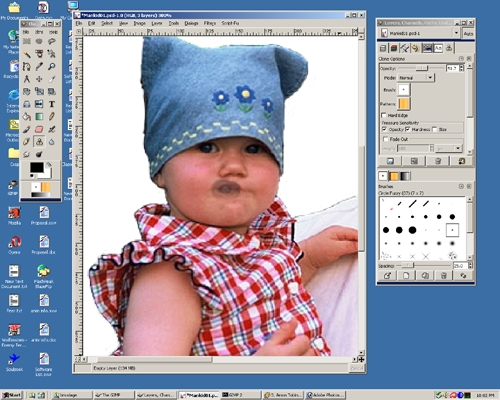
Step 35
Change the opacity to 20 percent and draw again. Notice you can see through the eye even more. Only 20% of the image is showing, making it transparent. Undo the eye drawing.
Step 35
After using a combination of opacity changes and different brush types the mouth now looks much better.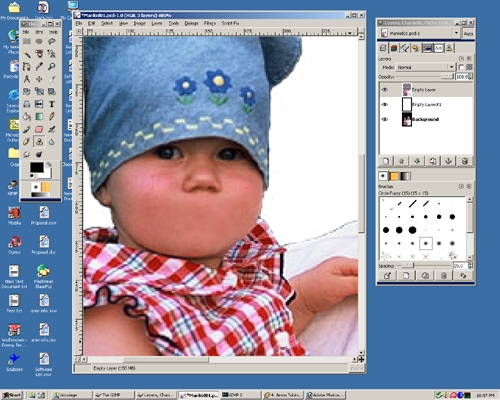
Step 35
Zoom out and hide the middle layer.
Step 35
Hide the top layer and you can see what the orignal image looked like.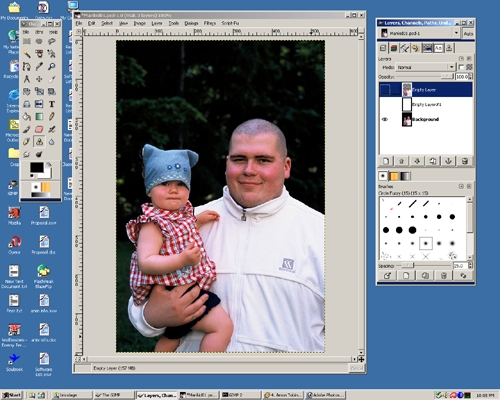
Step 35
Show the top and middle layer. Save the file as Mankid02.xcf.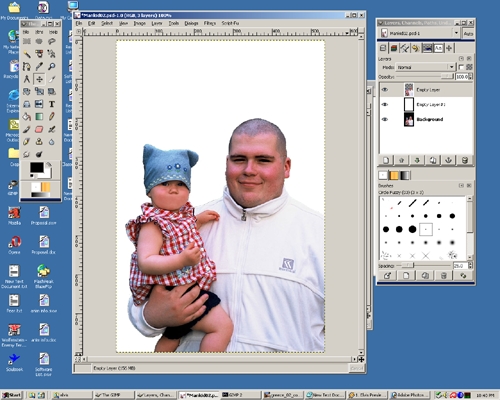
Step 35
Open the greece.jpg file.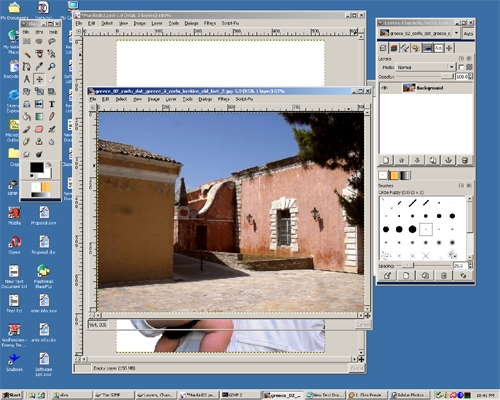
Step 35
On the top of the righthand dialog box under the layers tab, select the arrow. Choose the Mankid02.xcf file. A new set of layers should appear.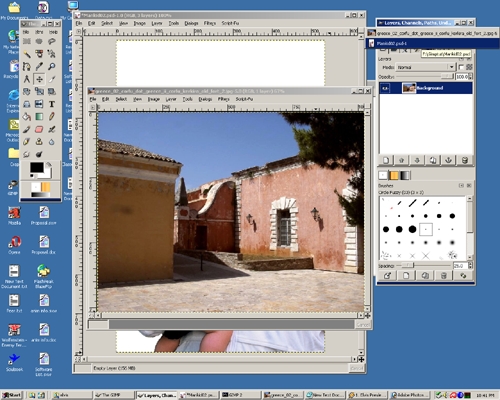
Step 35
Hold your left mouse button on the top layer image and it should get bigger. With mouse still held drag it to the other picture.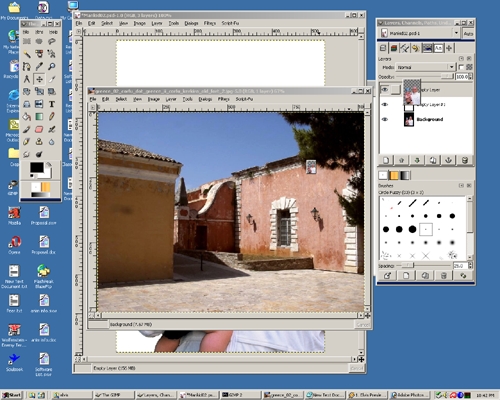
Step 35
Now the man and child layer are in the greece background. Select the move tool in the toolbox. It is located 4 rows down in the middle.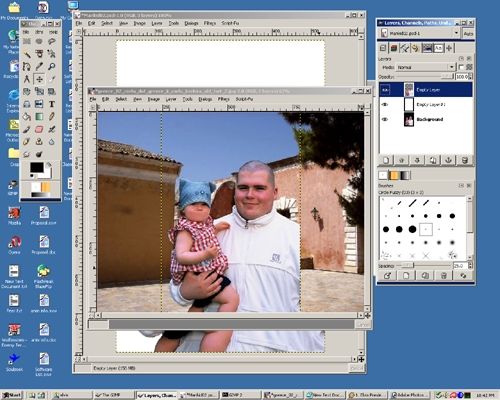
Step 35
Hold the left mouse button on the layer and drag the image to the desired area.
Step 35
Again on the top of the righthand dialog box under the layers tab, select the arrow. Choose the greece.jpg file. A new set of layers should appear.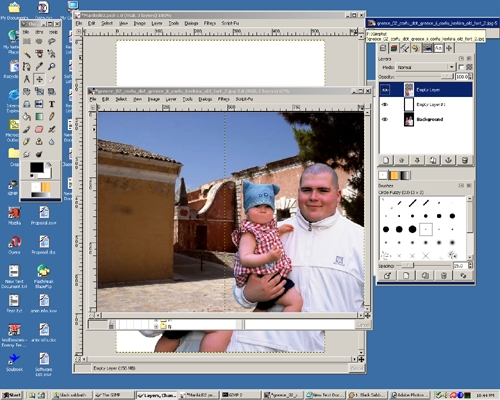
Step 35
Select the top layer and Right click on the image. Select Tools, Color Tools, Color Balance.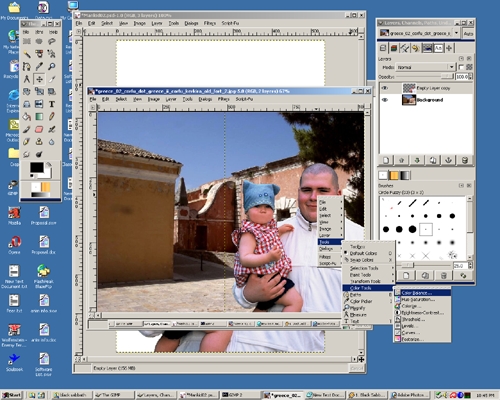
Step 35
A Color Balance dialog box will appear. Adjust the shadows, midtones, and highlights to get the man and child to blend with the background. Once satisfied select OK.
Step 35
Now the man and child's color look closer to the background color sceme.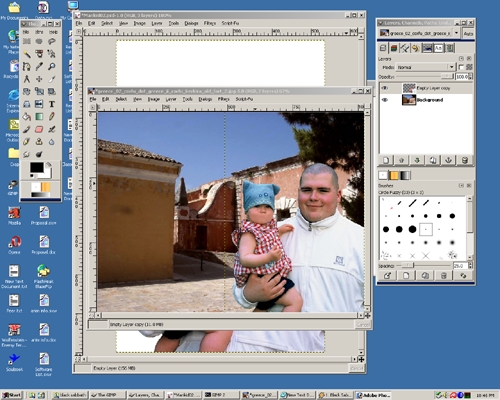
Step 35
Right click on the image. Select Tools, Color Tools, Brightness Contrast.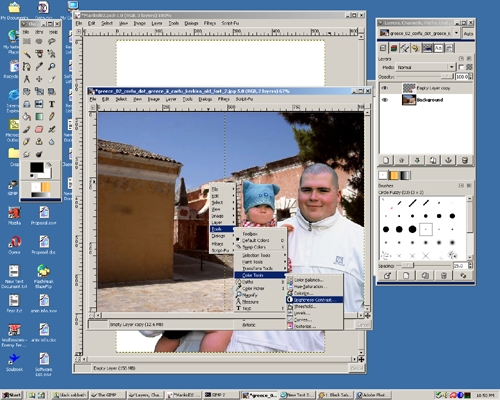
Step 35
A Brightness Contrast dialog box will appear. Adjust the brightness and contrast until the values are similar to that of the background picture. Select OK.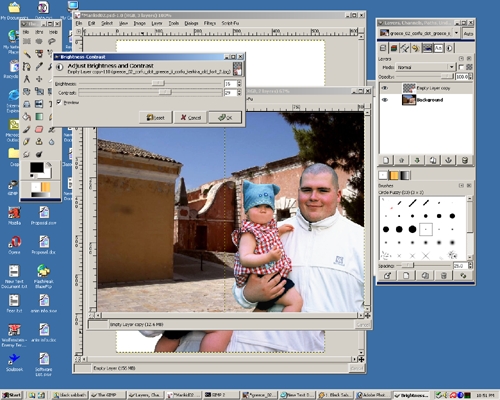
Step 35
Now the man and child are somewhat similar to the background.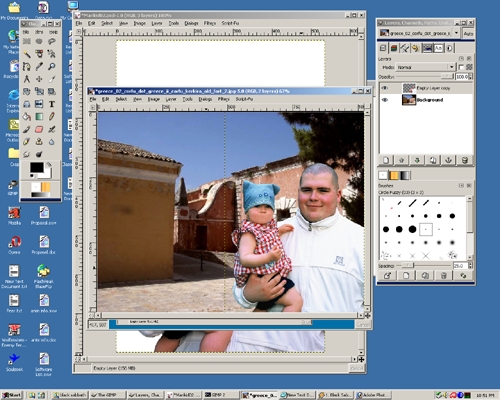
Step 35
Select the crop tool in the toolbox. It is the icon in the 4th row to the far right. This icon looks like a scapel and is to the right of the move tool. Drag the crop tool and use the corners to adjust the crop square's size. Once satisfied, Select OK.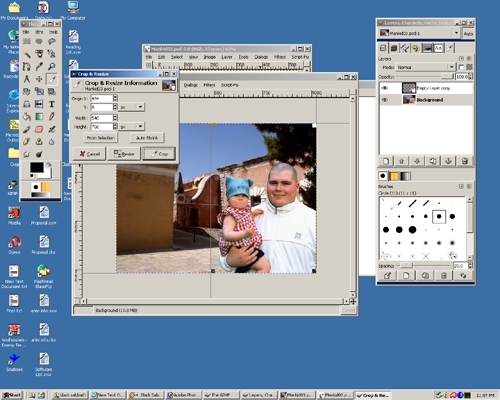
Step 35
Now the picture will be a cropped to a new size. Save as Mankid03.xcf.
Step 35
Select the bottom layer. Right click with the mouse and select Filters, Blur, Gaussian Blur... A Blur dialog box will appear. Change the value for Horizontal and Vertical to 5. Press OK. **Note the photo shown is different than the directions due to the fact gimp's blur function has changed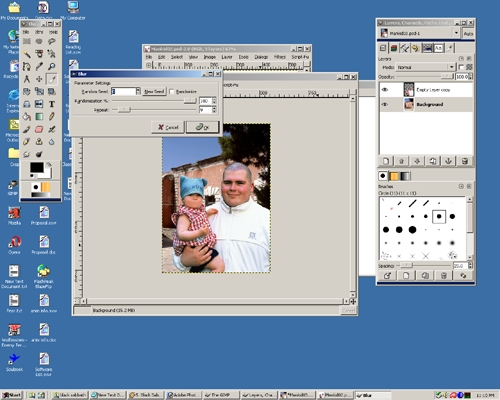
Step 35
Now the backround is slightly blurry. Save the file as Mankid04.xcf. This concludes the basic tutorial.